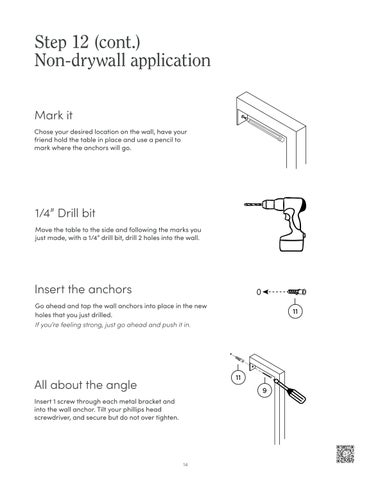
Step 12 (cont.) Non-drywall application Mark it Chose your desired location on the wall, have your friend hold the table in place and use a pencil to mark where the anchors will go.
1/4” Drill bit Move the table to the side and following the marks you just made, with a 1/4” drill bit, drill 2 holes into the wall.
Insert the anchors Go ahead and tap the wall anchors into place in the new holes that you just drilled. If you’re feeling strong, just go ahead and push it in.
11
11
All about the angle
9
Insert 1 screw through each metal bracket and into the wall anchor. Tilt your phillips head screwdriver, and secure but do not over tighten.
14
