POWERBOATER’S GUIDE TO ELECTRICAL SYSTEMS not all) are of the centrifugal type, and correct impeller rotation is imperative if the pump is to work properly.
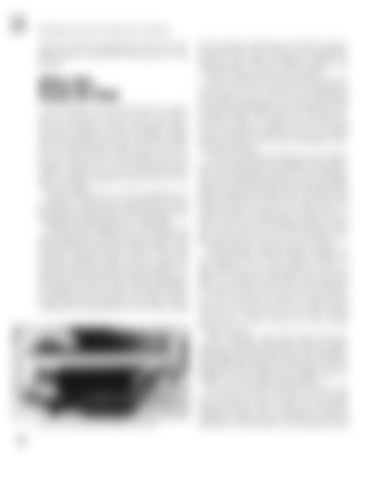
Adding a New Compact-Disc Player A new CD player, like any other electronic equipment you decide to install or add to your boat’s inventory of goodies, is a prime example of equipment that is polarity sensitive. Essentially, motors and any equipment that contains any type of solidstate circuitry all fall into this category. It pays to be quite cautious here, as mixing the positive and negative conductors can burn out internal components of valuable equipment quicker than you can snap your fingers. Having said that, the rest of the installation of a CD player is relatively easy, especially if you have found the above descriptions of the installation of the cabin light and bilge pump easy to understand. Really, the most difficult part of installing a CD player is figuring out where you want to mount it and cutting the hole in the panel for the face plate. Some electronic equipment today will have a heat sink mounted on the back chassis, as shown in figure 9-8. This heat sink does just what the name implies; it radiates heat away from the parts within the equipment it’s designed to protect. Make sure that the airflow past this heat sink is adequate to provide necessary cooling when the equipment is in use. Proper cooling
Fig. 9-8. Typical electronic equipment heat sink.
144
of the equipment will improve its longevity and performance. How much cooling air is enough? Not much; just don’t stuff your valuable CD player into a tiny hole with no room for air to circulate. Once you decide on a good location for your new CD player and cut the necessary mounting holes, you’re ready to wire it in. I’m sure you remembered to check the packaging before you left the store after buying the player. Quite often the installation instructions include a template for the mounting cutout. Having this template will save a lot of time and ensure that you get a proper installation with a minimum of fitting. As with any electrical equipment, always follow the fuse recommendations provided by the manufacturer. Most CD players come with a two-wire harness about 18 to 24 inches long with an in-line fuse holder already installed on the power lead. Typically, these leads are made with 16 AWG wire. Since most such equipment (but not all) draws less than about 1.5 amps, 16 AWG is usually large enough for runs of up to 30 feet (where the CD player is located 15 feet away from the power source). If the distance from the power goes over 15 feet, step up to 14 AWG. In this example, using the 3 percent voltage drop from chapter 4 for a circuit length of 30 feet, 1.5 amps falls below the 5-amp minimum column in figure 4-3 on page 44. Remember to always round up in wire size and use the 5-amp column calling for a 12 AWG wire for a 30-foot run. As soon as you move over to the 40-foot column, the table calls for 10 AWG wire. If the run were, say, 32 feet I would stick to the 12 AWG, because you have already rounded up once. Also, remember that safety-related electronic equipment will always fall into the 3 percent voltagedrop category for wire sizing. Much of this equipment (particularly fish-finders, but other gear as well) is designed to work in a fairly narrow voltage range. (See chapter 12 for more details on this subject.) Your new CD player should be tied into your main distribution panel just like the cabin light already discussed. Since it falls into the generalequipment category, the use of duplex wire with red and black or red and yellow wires will keep the feed


