4 minute read
Extend Cylinder (3-Section Boom

from Manitou MTA 12055 Series 3 Gehl DL11-44 55 GEN 3 Gehl DL12-40 55 GEN 3 Telescopic Service Manual

Extend Cylinder Installation (3-Section Boom)
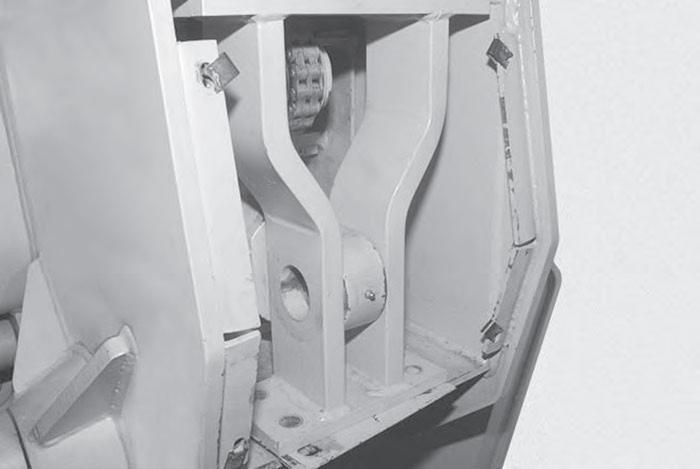
11 . Using a hoist and lifting strap install the extend cylinder halfway into the boom, reposition the lifting strap as needed . Install the trunnion mounts (1) onto the extend cylinder and slide cylinder assembly into position .
Advertisement
1 1
Fig. 793 - Position Extend Cylinder into Boom
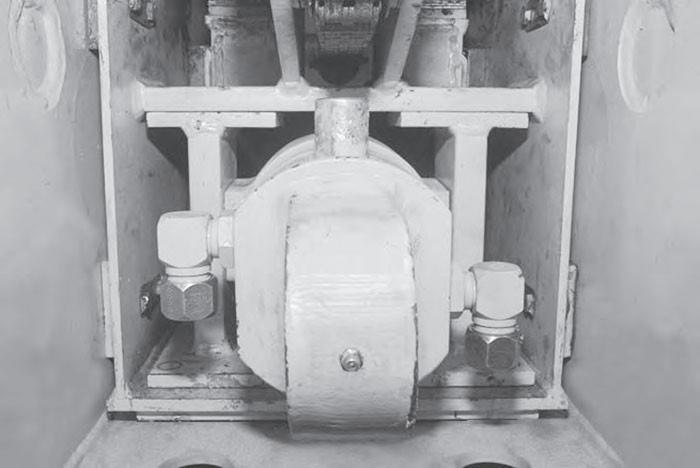
12 . Install and tighten the ten bolts to secure the trunnion mounts .
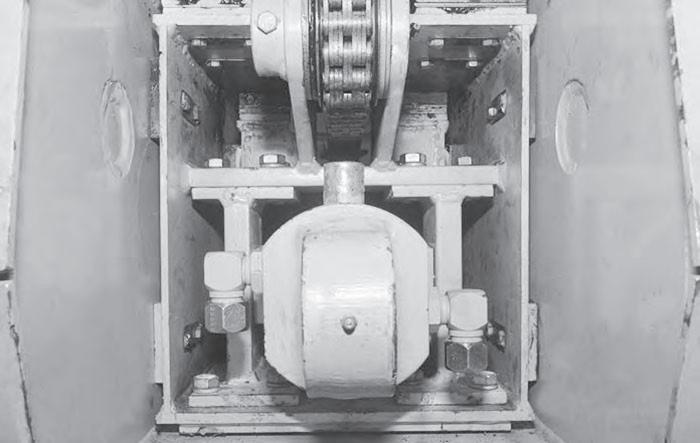
Fig. 794 - Install Bolts in Trunnion Mount
13 . Install the extend cylinder rod mounting bracket (1) and shim (2) .
1
2
Fig. 795 - Install Extend Cylinder Rod Mount
14 . Install and tighten the eight bolts and nuts to secure the extend cylinder rod mounting bracket and shim .
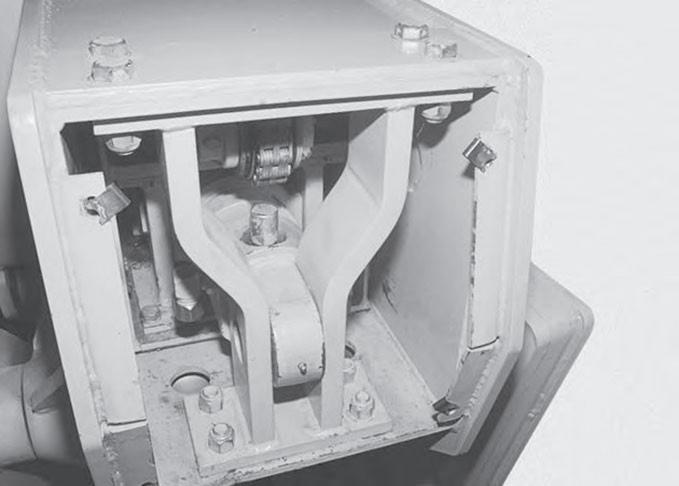
Fig. 796 - Install Mounting Bracket Bolts
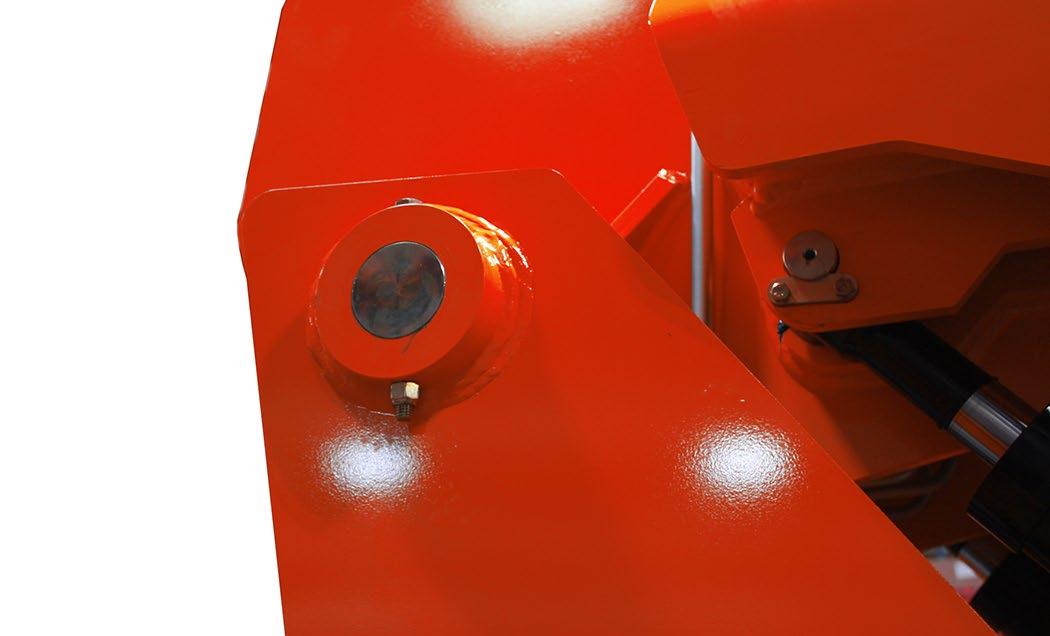
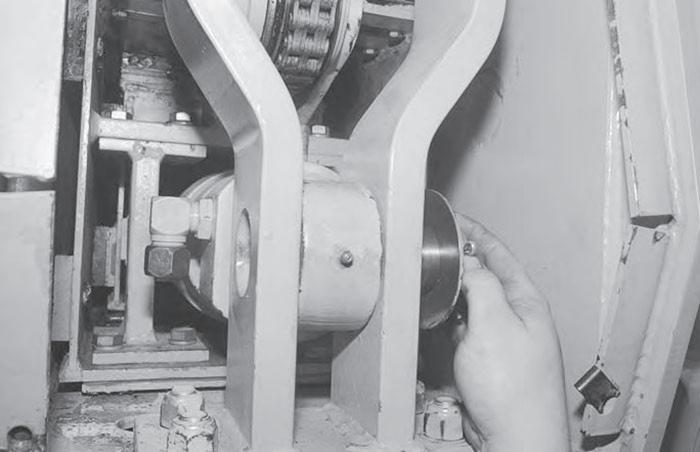
15 . Install the pin (1) with a washer and cotter pin, in the cylinder mounting bracket .
1
16 . Install the washer (1) and cotter pin (2) in the pin in the cylinder mounting bracket .
2 1
1
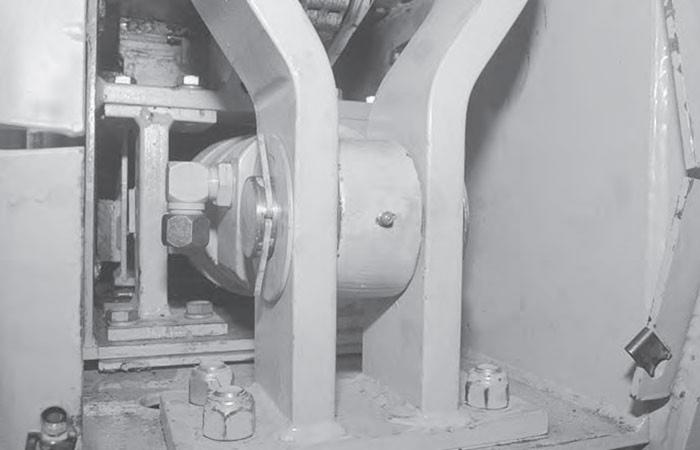
Fig. 798 - Install Washer and Cotter Pin
17 . Remove the caps and plugs from the hydraulic fittings. 18 . Reconnect the two tubelines to the extend cylinder and tighten .
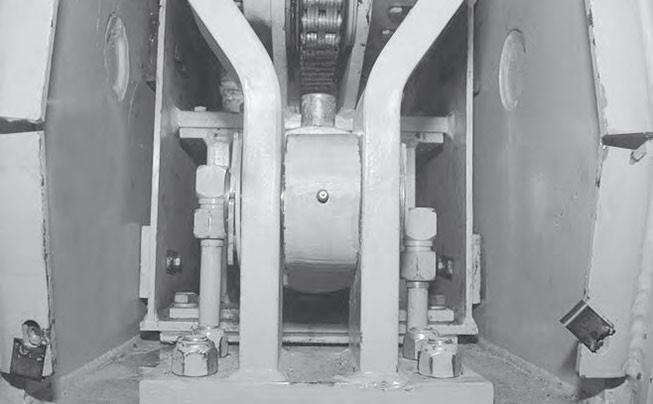
Fig. 799 - Connect Tubelines to Cylinder
19 . Start the engine and check boom operation in a clear area .
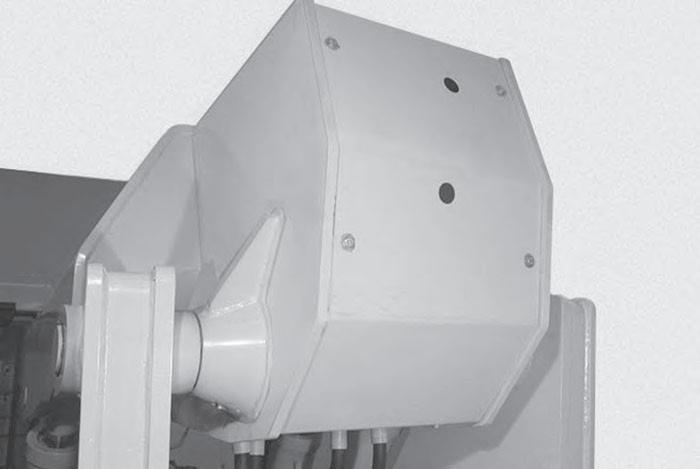
20 . Shut down the engine and check for hydraulic fluid leaks. Correct any leakage problems found. 21 . Reinstall the cover on the rear of the boom with the six bolts (1) .
Fig. 800 - Install Rear Boom Cover
Double Chain and Roller Bearing Replacement (3-Section Boom)
Mandatory Safety Shutdown Procedure BEFORE cleaning, adjusting, lubricating, fueling, or servicing the machine, or leaving it unattended:
• Bring the machine to a complete stop on a level surface . If the machine must be parked on a slope, park across the slope and chock the wheels to prevent movement . • Fully retract the boom and lower the attachment tool to the ground . • Idle the engine for gradual cooling . • Place controls in neutral .
• Apply the parking brake. • Shut off the engine and remove the key. ONLY when you have taken these precautions can you be sure it is safe to proceed . Failure to follow the above procedure could lead to serious personal injury or death.
Double Chain Removal (3-Section Boom
1 . Start the engine and retract the telescoping boom, and level it so the boom angle indicator reads “0” .
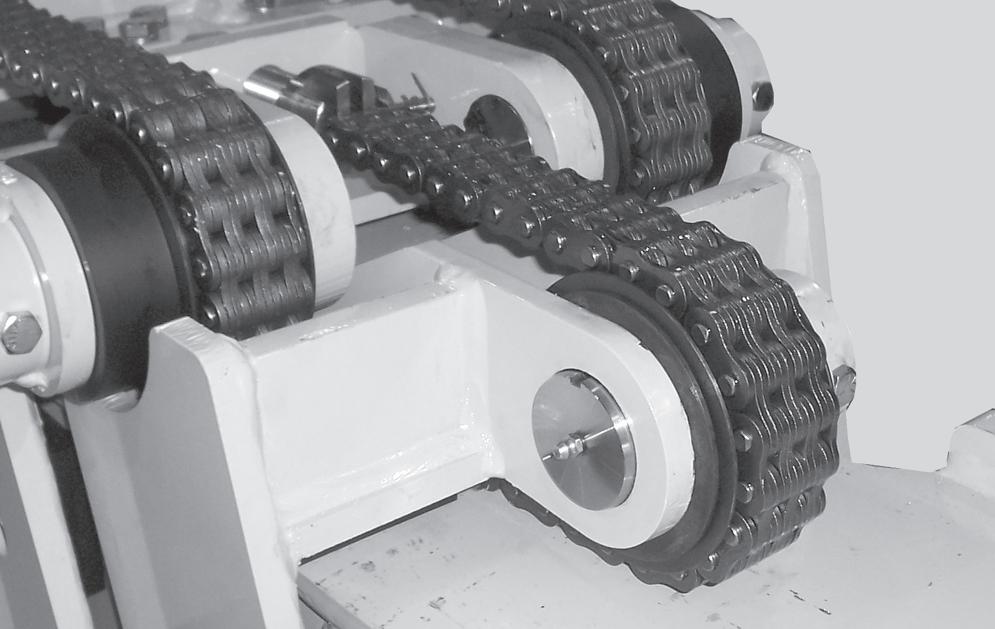
2 . Remove the four nuts that secure the clevis of the double chain assembly to the outer boom .
Hang both chains over the front of the inner boom .

Fig. 801 - Remove Nuts on Double Chain Clevis
3 . Loosen and remove the six bolts (1) from the rear cover and remove the cover from the boom .
1
Fig. 802 - Remove Rear Boom Cover
4 . Remove the extend cylinder . See “Extend
Cylinder Removal (3-Section Boom)” on page 394 .
5 . Remove the inner boom section from the intermediate boom section . See “Inner Boom
Removal (3-Section Boom)” on page 388. 6 . Remove one cotter pin (1) from the clevis pin at the rear of the inner boom .
1

Fig. 803 - Remove Clevis Pin Cotter Pin

7 . Remove the clevis pin (1) from the chain .
1
Fig. 804 - Remove Clevis Pin

8 . Remove both chains .
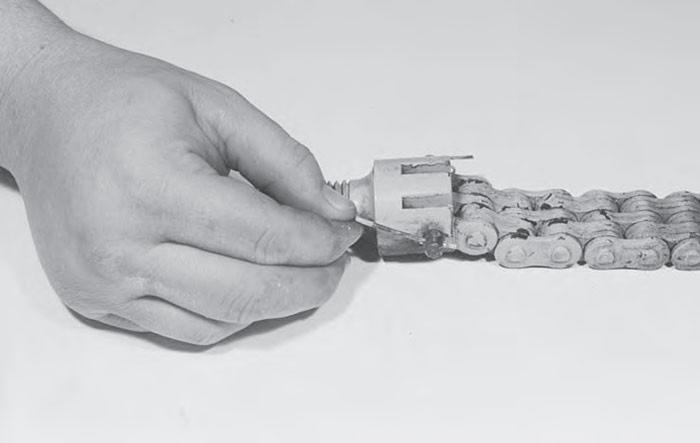
9 . Remove the adjustment clevis from the old chain by removing one cotter pin and the retainer pin (1) .
1 Double Chain Installation (3-Section Boom)
10 . Install the adjustment clevis on to the new chain using the retainer pin (1) and one cotter pin (2) .
2
1
Fig. 806 - Install New Chain to Adjustable Clevis
11 . Position the new chain in the clevis at the rear of the inner boom section . Install the retainer pin (1) .
1
Fig. 807 - Install New Chain to Clevis
12 . Install the cotter pin (1) in the chain retainer pin .
Fig. 805 - Remove Clevis Pin