MAINTENANCE/ADJUSTMENTS
2. P u s h t h e r i g h t s t e e r i n g l e v e r completely forward and hold. Turn the upper right adjusting screw (1) clockwise until it just touches the lever.
C. Tighten the lock nut on both upper adjusting screws. 7. Drive the machine in reverse with both steering controls pushed completely rearward. Stop the machine.
3. P u l l t h e r i g h t s t e e r i n g l e v e r completely rearward and hold. Turn the lower right adjusting screw (2) clockwise until it just touches the lever. 4. Adjust the left steering lever the same as the right steering lever using the adjusting screws (3) and (4).
A. If the machine turned to the left, turn the lower right adjusting screw (2) clockwise until the machine drives in a straight line. B. If the machine turned to the right, turn the lower left adjusting screw (4) clockwise until the machine drives in a straight line.
TRIM THIS EDGE
1. With the engine stopped, loosen the four lock nuts on the adjusting screws and turn the four adjusting screws 4 or 5 turns counterclockwise to remove all adjustment.
B. If the machine turned to the right, turn the upper left adjusting screw (3) clockwise until the machine drives in a straight line.
C. Tighten the lock nut on both lower adjusting screws.
5. Fasten seat belt, lower seat bar, start the engine and drive the machine to a clear open area with a level surface. Make sure all persons are away from your machine. 6. Decrease the engine speed to about 3/4 throttle and drive forward with both steering controls pushed completely forward. Stop the machine. A. If the machine turned to the left, turn the upper right adjusting screw (1) clockwise until the machine drives in a straight line. 135
TRIM THIS EDGE Rac 9-11534 RIGHT PAGE
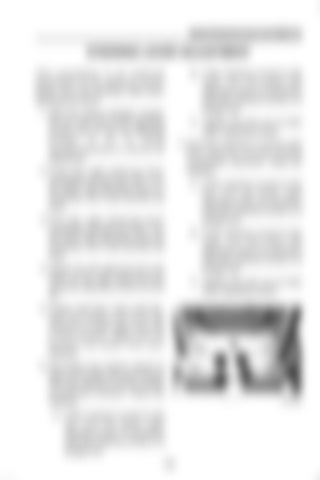
1 2
3 4 B4053890
Template Name: OM_1_col Template Date: 1997_02_06
This procedure is an external adjustment of the steering control levers. Sit in the operators seat when adjusting the levers.
Alt= to hide template information Alt+ to display template information
STEERING LEVER ADJUSTMENT


