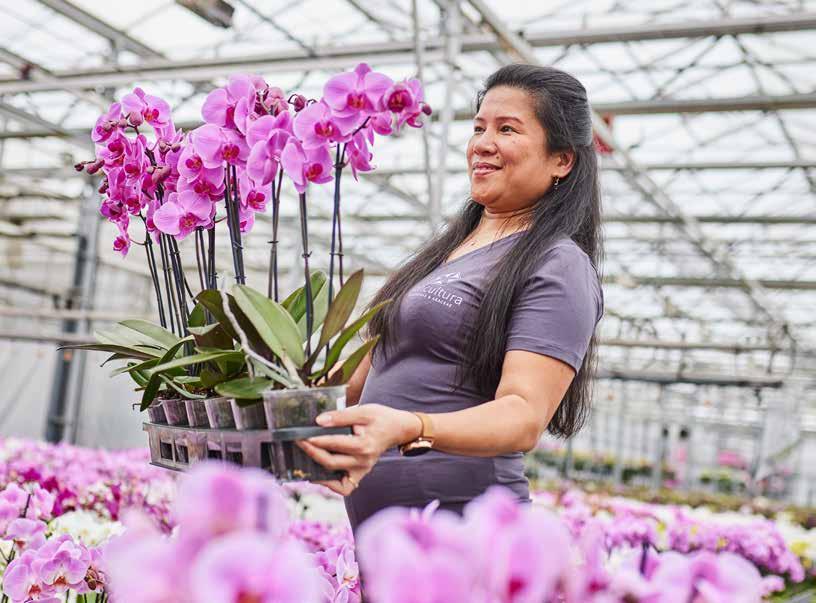
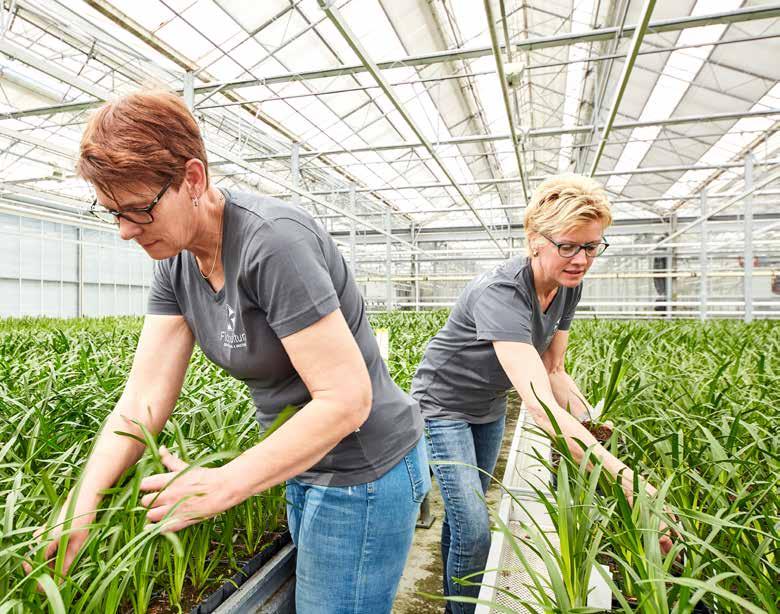
BREEDING BUSINESS NEWSLETTER NOVEMBER 2022 Breeding your success Cymbidium considerations Phalaenopsis 4 2
With the energy crisis in Europe turning everything upside down, it’s becoming increasingly difficult to give growing advice. The industry is being forced to rethink established practices that were previously taken for granted - and with an energy-intensive crop like phalaenopsis, the situation is even more challenging.
During the growing phase, the optimal cultivation temperature is 27 to 30°C. The general rule of thumb is the warmer the temperature (with light), the faster the growth. However, 27 to 28°C might be warm enough. Normally, growth depends on temperature; the lower the temperature, the slower the leaf formation rate. Temperature does not affect assimilation, but it does have an impact on dissimilation. The balance between the production and consumption of sugars affects the quality and growth of the plant.
Alongside temperature, light and humidity also affect growth and assimilation. Light is the most important factor for assimilation, but the right level of humidity is also critical to good growth. This is almost always measured as RH, with 60-75% considered to be an optimal value.
But is this really the case? We prefer to look at the moisture deficit instead. This figure reflects the amount of moisture you can add to 1 m3 of air at a specific temperature before the air becomes saturated (at 100%
RH). The higher the temperature, the higher the RH needs to be to ensure that the air doesn’t get too dry for the plant. The limit value for good growth is between 3 and 7 grams, but we often encounter values of 9 grams or more. At 55% RH and a temperature of 28°C, the moisture defi cit is 11.5 grams.
While the stomata are closed, the plant is relatively inactive. But when the stomata open to absorb CO2, after 9 to 10 hours of exposure to light, they will immediately close again if the air is too dry. If this process takes place too slowly - because stomata can’t open and close rapidly at will - then leaf burn will occur. This usually happens in the later part of the afternoon, but it can even occur in the late morning if the lights are switched on shortly after midnight. With energy prices on the rise, growers may change their approach and start switching on their lights between 5 AM and 6 AM each morning. However, if they do opt to illuminate their plants in the middle of the night, the stomata will open during the afternoon, when temperatures are often at their highest and RH is at its lowest. For this reason, we recommend reducing light and increasing RH during the later part of the afternoon.
At higher temperatures, crop growth is often more modest. Growers often attempt to improve their crop by increasing nitrogen, but it’s actually much more effective to keep the humidity deficit (HD) below 9 grams. Plus, if you allow in more light or add extra lamps, the leaf temperature rises 13°C above the ambient temperature,
which can easily send the leaf moisture deficit above 10. It makes much more sense not to strive for higher temperatures on their own, but also for the right level of humidity.
Achieving the right overnight temperature is also essential for good growth. At the end of the day, leaf temperatures can fall 0.5-1°C or more below ambient temperature. If the plant temperature drops to 26°C or below during the night, this will affect the growth rate. Insulating the plants using 2 or even 3 screens will prevent heat loss and stop the plant temperature from falling too much, if at all. A good insulation system comprised of 2 or more screens also helps to promote drainage by encouraging condensation to form against the greenhouse roof, particularly in glass constructions.
Lower temperatures will slow the rate of growth. Years ago, when growers didn’t use artificial lighting and growing temperatures were around 25-26°C, the average cultivation time was 52 weeks. With higher temperatures and lighting added into the equation, growers have shaved 10 weeks off this average. The selection of faster-growing varieties has also contributed to this trend.
Over the next few months, plants won’t get enough natural light. With short days and low light intensity, artificial lighting is essential. During the day, try to use natural light as much as possible for growing, cooling and finishing. In the northern hemisphere, you won’t
need to use screens to protect against sunlight between now and the end of January.
Don’t start lighting too early. After being exposed to light for 9/10 hours, the photosynthesis efficiency of phalaenopsis is reduced, depending on how much light the plants have been exposed to. In the winter, there is a decent amount of natural light between 10 AM and 2 PM. Plants do best when exposed to light between 6 AM and 3 PM. To get the full benefit of free natural sunlight, don’t switch on your lights until after 4 AM.
After 1 to 2 hours of initial light exposure, you can use light integration to turn down the artificial lighting. Remove screens to allow the maximum amount of natural light in, until the lighting is at the right level for your plants. On sunny days, it may be possible to switch half of your lights off. If you achieve a lighting level of 5½ moles at 3 PM, you’ll be able to get by with half of your lights on and save energy. You can turn your lights off at 6 PM, resulting in a 14-hour day for your plants.
During the second growing phase, 8 weeks before cooling, you may decide to reduce the length of the
“Plants do best when exposed to light between 6 AM and 3 PM”
growing day to 12 hours, which will reduce the total amount of daylight your plants are exposed to. Research has shown that shorter days don’t have a negative impact on stem formation during cooling, in spite of the lower amount of daylight; in fact, the plants form more stems in these conditions.
If you don’t have any other option, you can choose a different approach during the growing phase and give your plants less light or no light at all. However, this will result in slower growth. If you give the plants that received less or no light the standard amount of light (in terms of the overall total) during cooling, then stem formation will still be good. However, the plant will need to have enough leaves to flower properly. If there are not enough leaves, an extended growth phase will be required.
During cooling and finishing, it is important to maximize light to maximize the number of 2 stems. In this scenario, allow the plants to transition from darkness to light over a few days to prevent leaf burn and cold damage. Giving
plants more space and putting them back into growing conditions before cooling them can help to prevent damage.
All of the above information on lighting is based on SON-T systems. But what about growers who use LED systemswhether that’s full LED or a hybrid solution? As many growers are now accelerating the rollout of LED systems, this will have an impact on crop management. LED and hybrid solutions both result in lower average plant temperatures, which means that additional heating will be required to make up for the heat that the plants would have got from a SON-T system. The difference is even starker with full LED systems. Installing additional screens may help to limit heat loss.
“During cooling and finishing, it is important to keep light reduction to a minimum”
Switching lighting systems will also affect irrigation frequency. With less SON-T lighting, pots won’t dry out as quickly. During the growing phase in particular, wetter conditions will result in more problems with Lyprauta. So it’s a good idea to check that pots contain the right level of moisture. The best way to do this is to weigh a number of pots each day. Using a more open pot and a drier type of substrate is another way to dry pots faster, enabling you to save energy while reducing potworm problems. All of this seems relatively simple, but it has enormous consequences for the crop.
Now is the time to adjust your fertilisation regime and re duce the amount of nitrogen you give your plants. By way of example: at 1 EC and a dose of 14 or 15 mmol/l, it’s fine to reduce the dose by 12 mmol/l between 1 November and mid-January. In a standard AB 100 x concentrated, 1 m3 container, 3 kg urea is 1mmol/l, so 6 = 2! After this period, revert to the standard dose and ensure that the water temperature is always at least 20°C.
And now we’ve mentioned potworm - here’s something else to think about. We’re seeing good results with gauze during the growing phase. Some growers have decided not to use gauze during the winter, as it reduces light. But this might still be preferable to an increased risk of potworm attack.
“Check that the pots contain the right level of moisture”
You may have noticed that we’ve opted to replace our usual ‘tips’ with ‘considerations’ in this article. In the context of the energy crisis in Europe, we’ve put ‘tips’ on hold for now.
Early ranges that bloomed before 1 November are now in the cooling phase; an average temperature of 12-12.5°C is appropriate. Research has shown that temperatures below 10°C can have a negative impact on stem production for some cultivars. The research focused primarily on a temperature of 7°C, and this lower temperature was maintained throughout the cooling period. We believe that these temperatures can be maintained temporarily - in the event of a particularly cold week, for example.
It is very important to ensure adequate moisture drainage to keep your plants active. Closing screens is a good way to get rid of excess moisture, as this encourages condensation to form against the cooler greenhouse roof. This method has been covered in a number of recent sessions on the “Het Nieuwe Telen” approach, organised for cymbidium growers in partnership with Jan Voogt, as well as in various publications. You can check that plants are still active by monitoring their water consumption. You can also measure how much moisture the crop is producing at night using scales that display results in grams. Try to allow your plants to evaporate at least 2 litres of water per m²/week, or almost 300 ml per m²/day. This can easily be monitored by weighing plants and/or recording irrigation and drainage volumes.
You can also cut energy consumption by closing all screens during the later part of the afternoon to retain the heat in the greenhouse. If the outside temperature is low, you can also close the windows, as the condensation that forms against the greenhouse roof will provide sufficient moisture drainage. This approach will cause the temperature to drop less and more gradually. Humidity levels can get quite high in these conditions, which makes your Christmas crops and mid-season plants more susceptible to Botrytis and sooty mould.
For years, growers have known that an additional sensor box above the screen provides valuable additional data and quickly pays for itself with the energy savings it generates - and that’s even more true given the current situation! What’s more, obtaining an RH measurement from an outdoor meteorological mast allows you to display the absolute humidity (AH) in the greenhouse, above the screen and outside on a single graph. This gives you a great insight into how well moisture is draining and enables you to take targeted action when the situation is not ideal.
If you want to work within high-precision moisture limits in your greenhouse, you need to keep your sensor boxes in top condition and functioning with maximum accuracy. This means keeping them clean and topped up with water, and ensuring that the fan is working properly, among other things. Digital sensor boxes also require regular maintenance. If you keep your boxes in good condition, you can grow your plants at 90% RH. Remember that flowers can be colder due to heat dissipation; RH around the flower can easily reach the risky level of 95%, which is when mould spores can form.
Recent findings also indicate that fans are a much more efficient way to move air around than heating pipes with minimum temperature settings. In simple terms, a fan uses 1 watt/m2 of energy, while a growth pipe with a specific minimum temperature can easily consume 20 watts/m2. If you allow the sunlight to warm the ground, this works in a similar way to a heating pipe. Air starts to move when the heat source is 10°C above room temperature; in other words, a pipe temperature of 24°C will have an effect if the room temperature is 14°C. However, at such low temperatures, the temperature of the pipe will not reach the 24°C in all areas with this setting.
“If the outside temperature is low, you can also close the windows”
Closing screens reduces heat dissipation and plant parts, flowers and stems will cool down at a slower rate. Humidity is highest when the temperature of the flower (bud) stems is below room temperature. Condensation can form in this scenario, and the two factors together can lead to problems. Screen covers with at least 80% coverage, or thin heating pipes installed at the same height as the flower stems, will prevent any issues. A screen cover that provides 90% coverage with open sections will also limit heat dissipation in the 90% covered areas. To gain a better insight into how dissipation changes over the course of the year, a net dissipation sensor mounted above the crop is an essential instrument. To give you an idea: cooling as a result of heat dissipation can easily add up to 40 to 50 watts/m2 You would need a 40 to 50°C heating pipe to compensate for losses on this scale. This advice also applies to mid-season and late varieties.
For the early varieties, it is important to take enough cuttings in September with a slightly higher temperature (more sun) and feed level (nitrogen). If the daily average temperature of 20°C is resumed by 1 March at the latest, the plants will bloom from week 40 once again. Starting heating from week 7 is two weeks earlier than usual, but that doesn’t mean that the plants will bloom two weeks earlier. Flowers will appear 45 days earlier, which means that production may be somewhat lower and less evenly spread. This was also evident in the Research Station for Floriculture tests.
The blooming period can be pushed back by keeping plants in cool, dark conditions for longer in the spring, then warming them again from summer to autumn and particularly between October and December. This might not work perfectly the first year, but results are guaranteed in the second year.
Cymbidium, especially the cut flower varieties, can be cultivated all year round. To achieve this, the early varieties must be cooled from the end of October and heated to an average daily temperature of 20°C from early February in order to bloom in September. The Christmas varieties must be heated from mid-March to the same 20°C daily average. The late-blooming varieties can be kept warm and even above the 20°C daily average until the end of December. But with energy prices as high as they are, that wouldn’t be a sensible thing to do. If the higher daily averages are not achieved, the early varieties will bloom around Christmas and the late-blooming varieties will follow around Valentine’s Day/March. The blooming periods will start to overlap, which has a negative impact on the supply schedule.
Historically, it was assumed that it would take years to bring forward or push back the blooming period. But 20-year-old studies conducted at the former Research Station for Floriculture in Aalsmeer, combined with our own experience, prove that that is not the case. If blooming is delayed to Christmas for one or two years and the energy prices stabilise in that period, then the earlier (or later) date can be returned almost to normal timings in the space of a year.
The advantage of cymbidium over phalaenopsis is that cymbidium can be kept in very cold conditions without killing the plant. Phalaenopsis need warm temperatures (25°C) to grow, and must not be kept below 18°C in the cooling period; colder conditions will kill them. If you follow the growth and temperature strategy as closely as possible, you can save a great deal of energy with cymbidium and grow your crop with maximum efficiency.
You can find more information on the “Het Nieuwe Telen” approach and the associated principles of Plant Empowerment at: www.kasalsenergiebron.nl and www.plantempowerment.academy. You can also order the book on sustainable and energy-efficient cultivation at the second link.

“A net dissipation sensor mounted above the crop is an essential piece of kit”
“Breeding your success”